Delicious Gluten Free Cake

The more I bake the easier it is to get a nice texture on a cake, and for years I had been working on how to make an amazing layered cake. However, about 8 years ago we found out that about 40% of my immediate family is actually gluten intolerant and that had been causing a lot of their health issues. Any recipe I typically made with flour immediately came to a halt & there was a TON of creme brûlée, puddings & custards consumed… BUT NOW we are back in action!! I’ve finally made a GF cake that was a hit for all members of the family & I’m excited to share the recipe with you! Let’s get into it…
Cake Ingredients
3 cups GF flour (my favorite is by Bob’s Redmill)
2 cups granulated sugar
4 tsp baking powder
2/3 tsp baking soda
1 tsp salt
2/3 cup mild flavored vegetable oil of choice (I used sunflower oil)
4 eggs at room temp
2 tbs white vinegar
2 tsp pure vanilla extract
1 cup milk of choice at room temp (Organic Valley Ultra is great; don’t trigger my lactose intolerance)
Icing / Filling Ingredients*
1 cup unsalted butter (let soften to room temp; approx. 1hr lead time)
1 to 1 ½ cups confectioners sugar
1 tsp vanilla extract
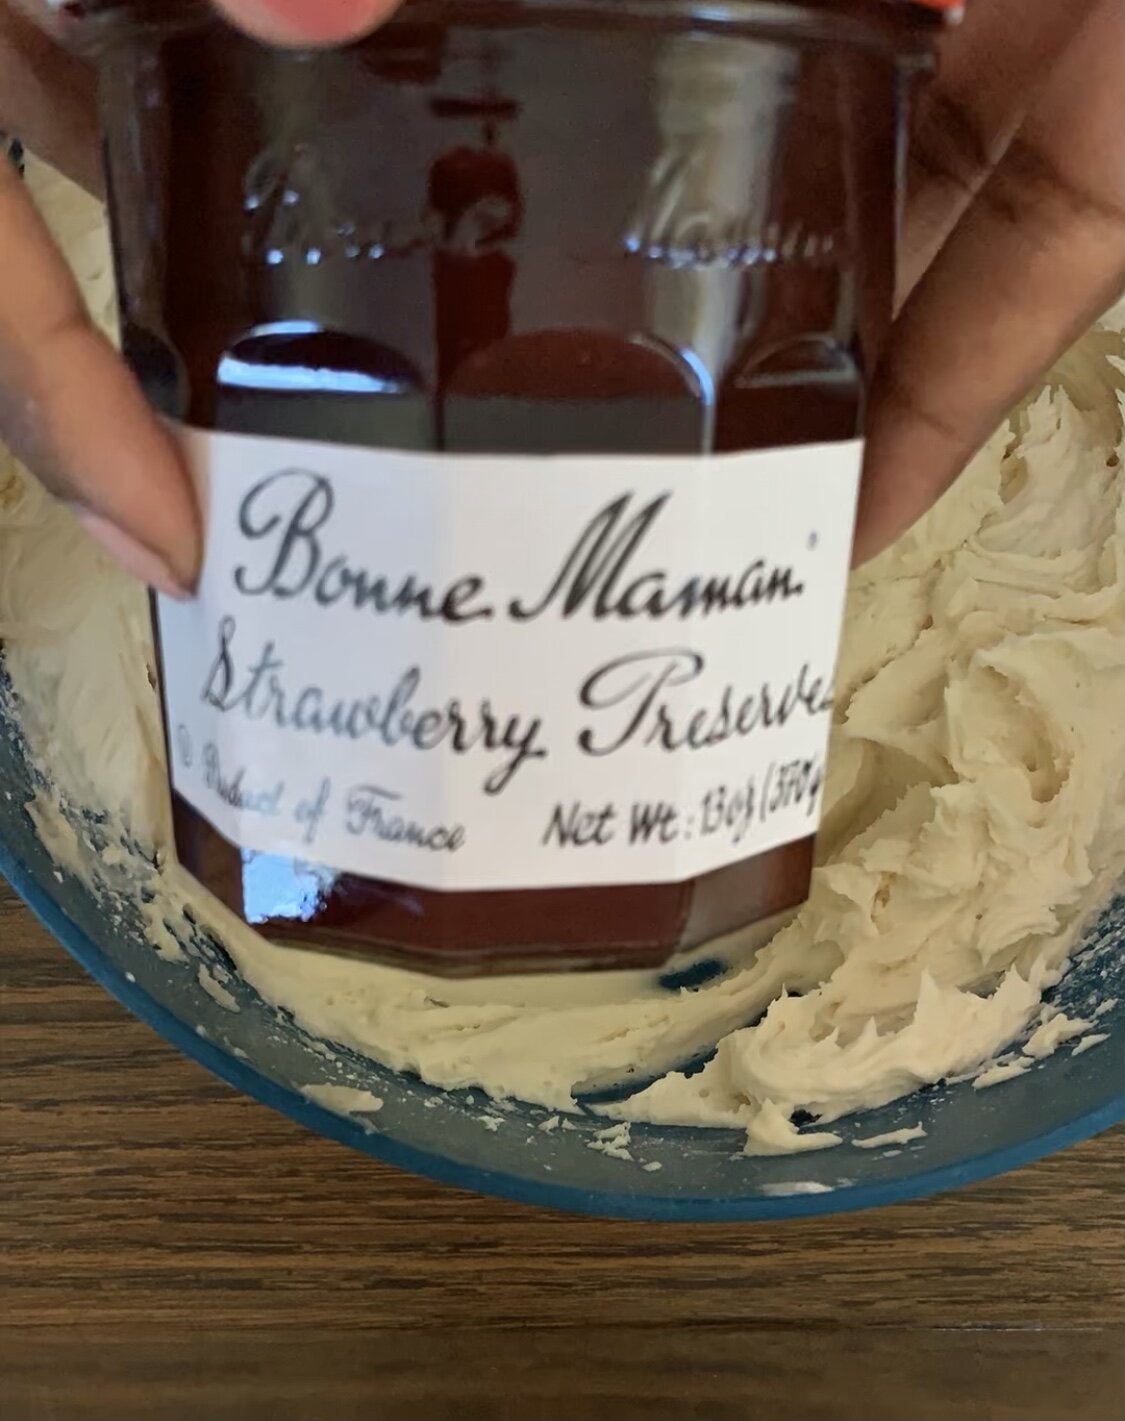
4 tbs strawberry preserve (I used Bonne Maman, my favorite, but any flavor or jam will work!)
*This is the quantity I used for one layer of filling (i.e. 2 layers of cake).
Instructions
Preheat oven to 350° F and oil two 8 or 9-inch round cake pans or 4-5 5-inch cake pans. I prefer to rub butter across my cake pans to oil, but you know the drill…do what works best for you!
Bring all ingredients to room temperature. Sift the dry ingredients (including sugar) together in a bowl.
Tip: if the granulated sugar is too corse for you sieve, feel free to add what is held back into the dry ingredients mixture, it’s okay! The point of sieving is to get the dry ingredients loose and incorporated.
In a separate bowl, combine oil, eggs, vinegar and vanilla. Slowly add dry mix into the liquids 1 cup at a time an whisk at low speed. Add the milk into batter last, continue to whisk now at medium speed to remove all lumps from the batter.
Pour batter into prepared pan(s) and carefully take each pan and tap the bottom agains a flat surface. If you pans are 2-3 inches high and you won’t spill, drop the pan from approx. 1 inch height onto you counter to help remove and large air bubbles. Allow to rest in the pan before baking for 15 minutes.
Bake for approximately 25-30 minutes for the larger cake pans or 18-24 minutes for the smaller cake pans / cupcakes. Insert a knife or toothpick to test center of each pan before removing from the oven. When done, the knife / toothpick should come out clean and might have a few crumbs attached when inserted into the center of the cake. If wet, you cake is still partially raw, so let it bake a little longer!
Remove cake from oven and let cool for about 3-5 minutes. Then loosen the edges of the cake by gently scraping a knife along the sides. Invert the cake by flipping it upside down into you hand, remove the pan, and set the cake on a wire rack or serving plate to cool.
***
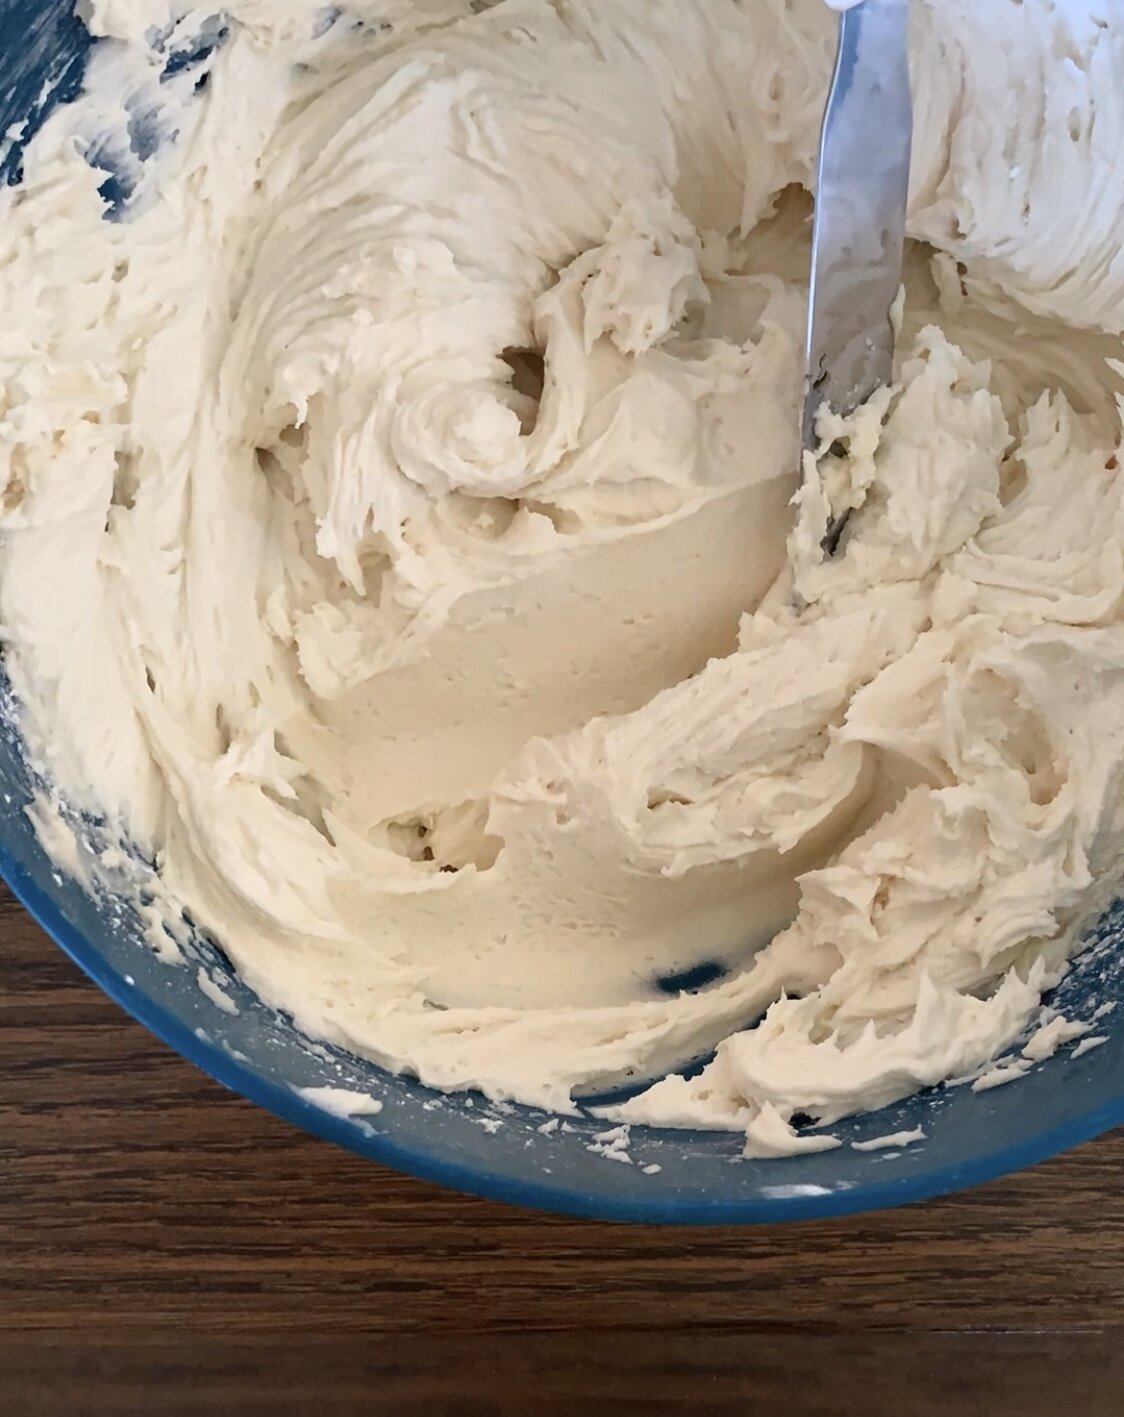
While your cakes are cooling, grab a clean bowl and add room temp butter with vanilla. Beat on medium speed until butter is creamy (no large chunks). Add in confectioners sugar ½ a cup at a time and whisk in on low-medium speed. I like to taste after each addition to gage how sweet I want the batch. Continue to add sugar until you reach you desired sweetness and color.
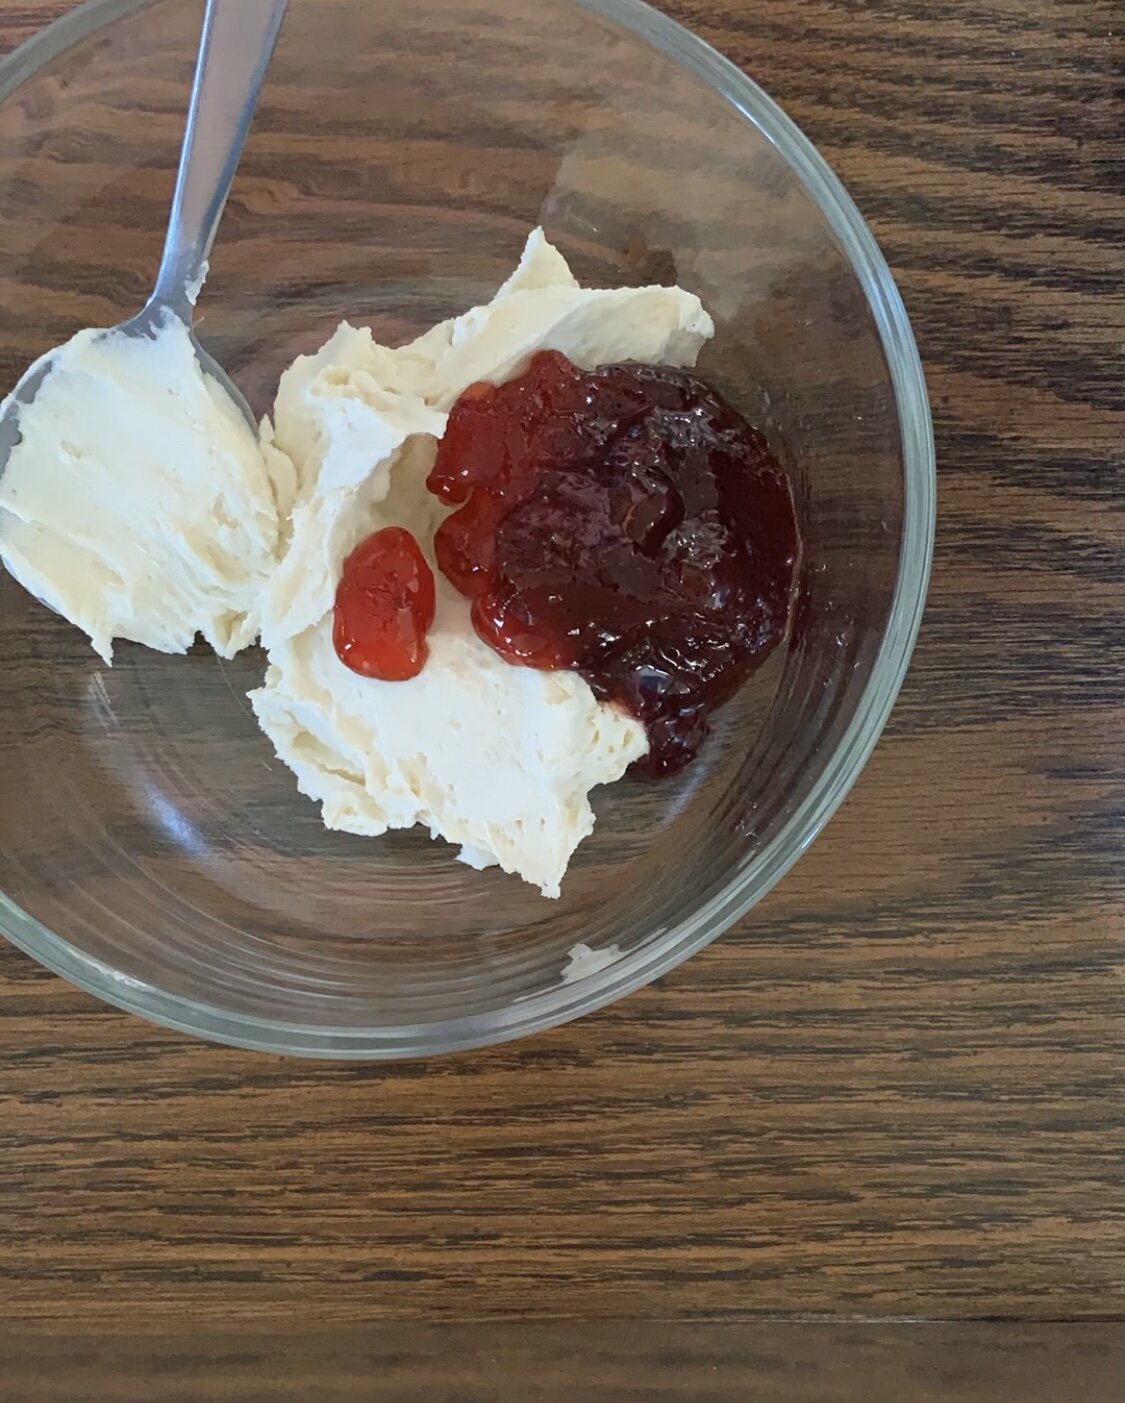
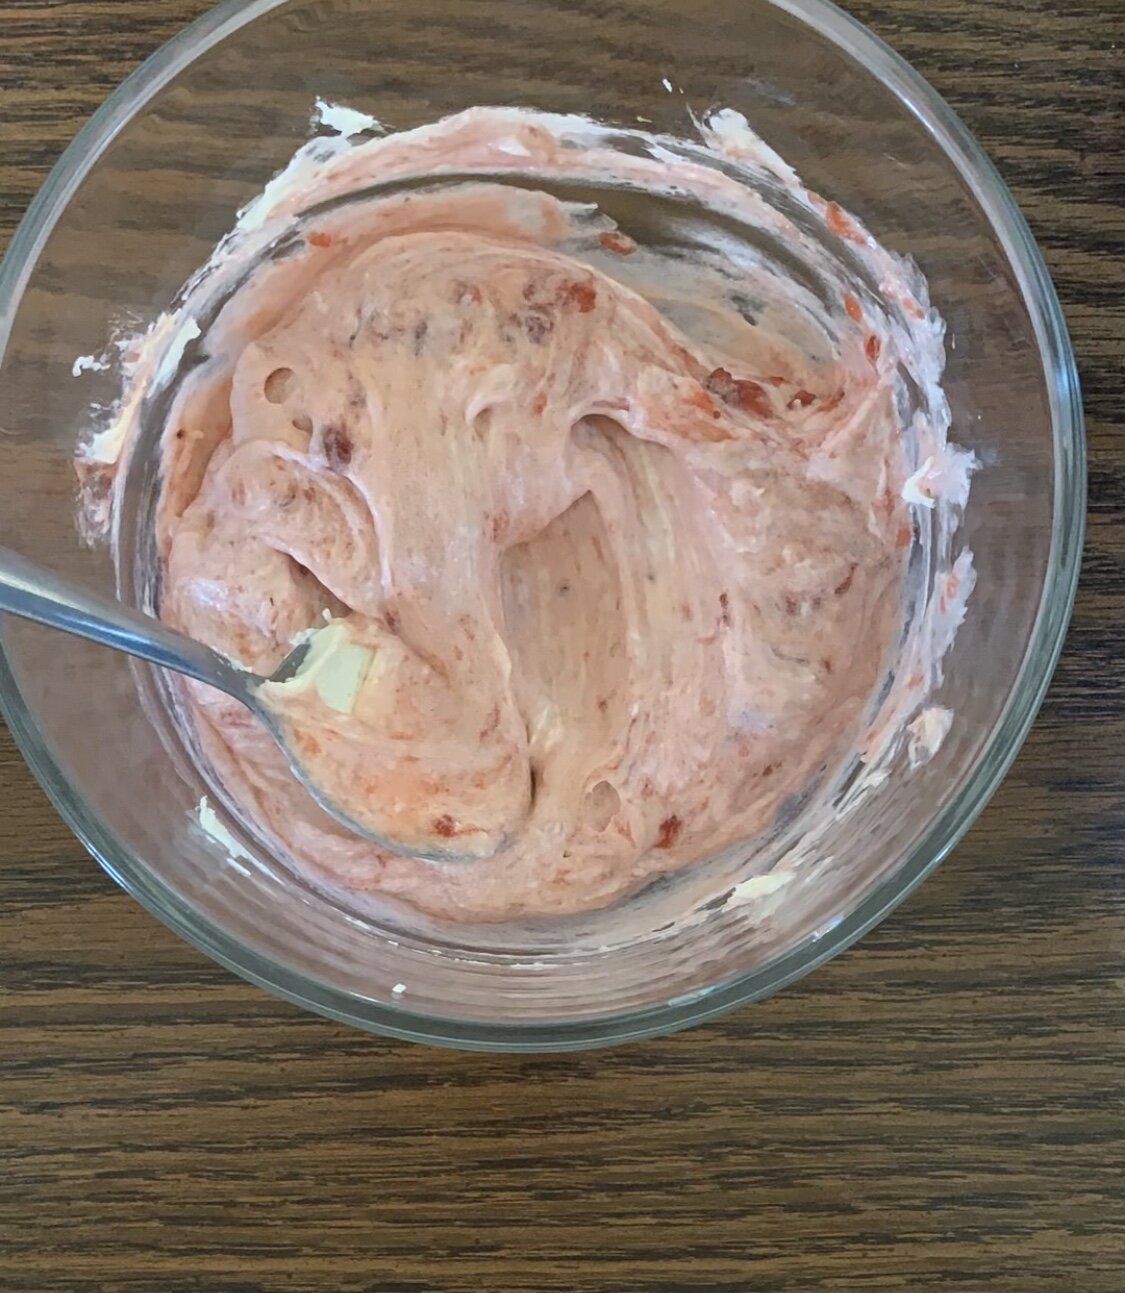
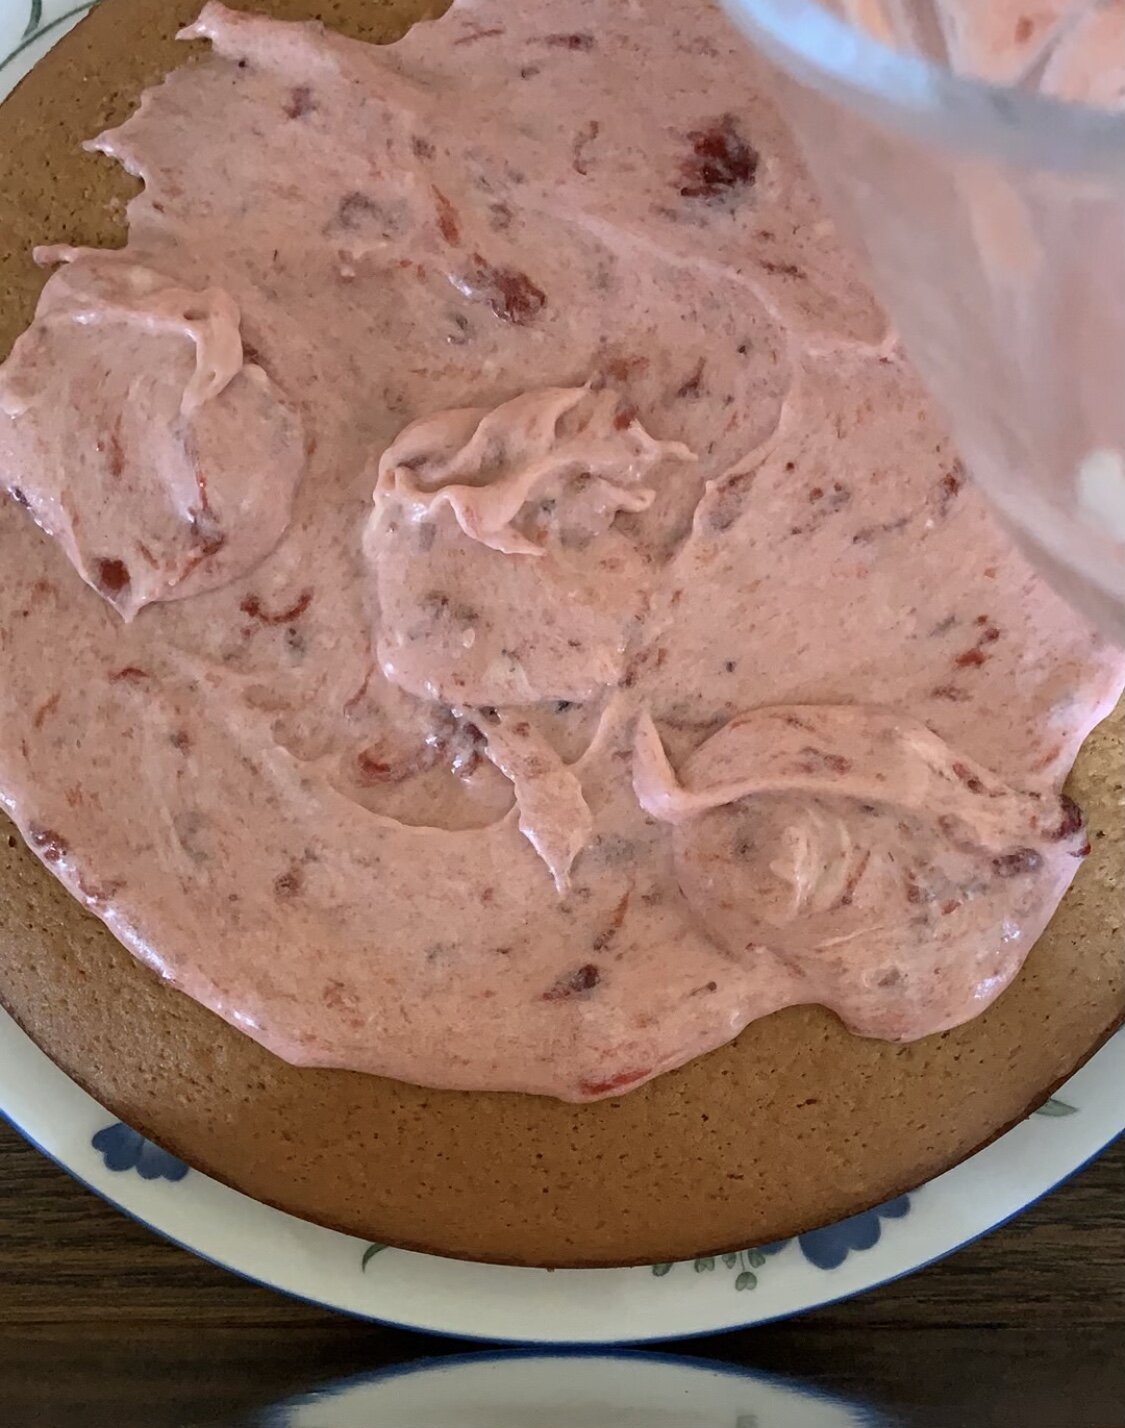
Once you are please with the base icing, set aside ⅓ into a separate dish and stir in preserves / jam with a spoon. Be gentle at this step so as to not ‘over beat’ the icing and make it too runny.
Place you first cake round on your serving dish and add fruit icing to the top, ensuring the layer of filling if even across with about ¼ of an inch space empty around the perimeter. Add on cake layers and repeat filling step until you are at your last piece of cake.
On the top / final cake layer, even spread out the remaining plain buttercream icing and top with sprinkles, fruit or any other topping that you heart desires!
I’m so excited for you guys to check out this recipe & hope that you love it!! Until next time ♡
